Check out the full big wall video course, or download the e-book.
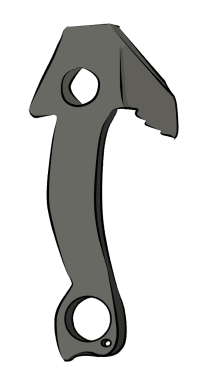
Beaks are an ingenious type of piton which offer protection in super thin cracks, where even micro nuts are too big to fit. They are available in three common sizes.
Beaks - The Placement
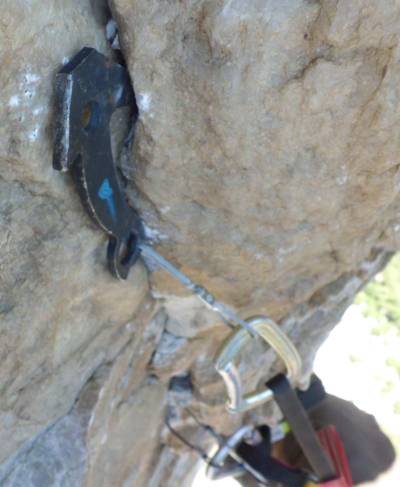
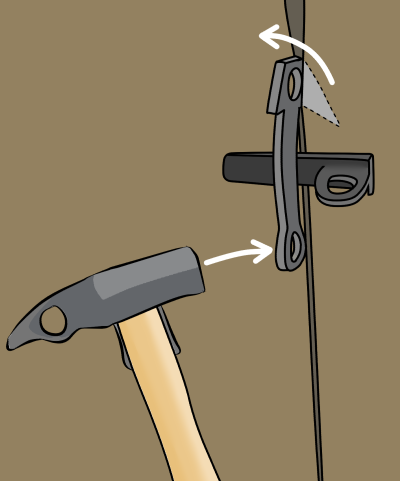
Beaks are most often placed with a hammer, but they can also be hand-placed.
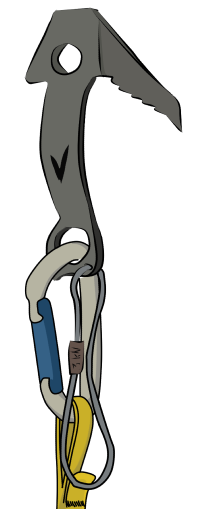
If possible, always clip a quickdraw directly to the hole on the beak, rather than the cable. Eliminating the cable gives you a few extra inches of aiding height, and also results in a stronger piece of gear (the 3kN cable on Black Diamond Peckers is the weakest part).
To place beaks well, you must first understand the physics that cause them to lock into a placement - taper, hooking power and outward force. Each of these are described below.
Beak Physics – Taper
Most beaks have a tapered tip, being smaller underneath than on top. This allows them to be placed similarly to a nut.
Look for tiny constrictions in the crack and slot the beak in just above. Then gently tap it a couple of times with your hammer to seat it in position.
If you hit it too hard, you’ll damage your beak tip or the rock which is holding it in place, or it will be really difficult to remove.
Beak Physics – Hooking Power
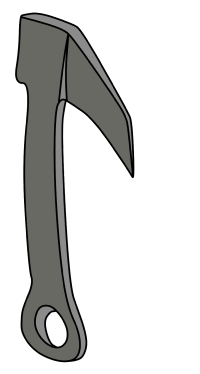
Similar to an ice tool, the tip of a beak is angled downwards. This allows the beak to ‘hook’ over constrictions far back in a crack.
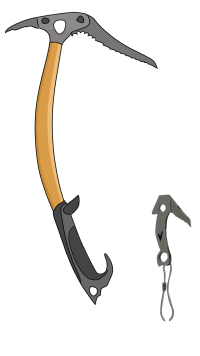
Beaks can also be used to hook over flakes or dead-heads (copperheads with broken cables) where a standard skyhook is too wide to fit.
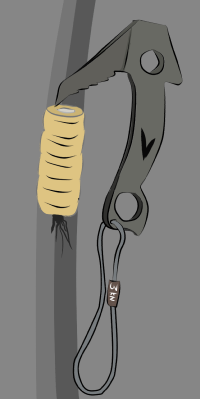
Beak Physics – Outward Force
If the crack has no constrictions or undulations, a beak will rely on the outward pressure from the sides of the crack to remain in place. Think of the beak as a wedge. You’ll need to hammer it in fairly hard for it to be good.
The beak’s tip should slide half of the way in the crack initially, and then go close to the eye when hammered. If it can be hammered all the way in, you’ll need a bigger size. Over time you’ll be able to judge this before you hammer it.
Unlike most other pitons, beaks do not torque into uniform vertical cracks. So unless there is a slight narrowing or constriction, you’ll probably be better off placing a knifeblade or arrow instead.
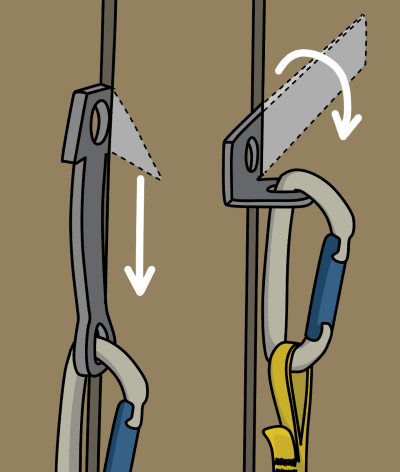
Beaks – Diagonal, Horizontal and Roof Cracks
When a beak is weighted in a diagonal crack, the tip twists into the crack. This offers a little more security on slightly diagonal cracks.
However, on steep diagonals or horizontals, the beak tip is likely to bend or break, especially in the smaller sizes.
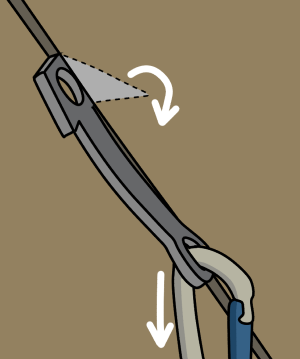
To combat this, you can clip your aiders to the upper hole (via a loop of 5mm cord). This reduces the leverage on the beak’s tip, making it less likely to break.
Rurps or knifeblades are often a better choice in these situations, since they are stronger when weighted this way.
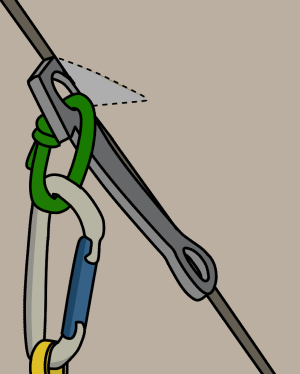
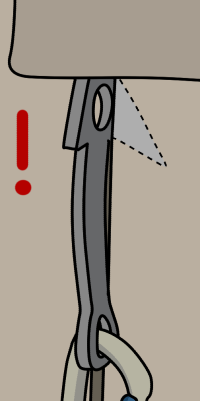
If you place a beak (or any other piton) at the base of a roof or small overlap, it may become ‘geometrically fixed’.
To be removed, it must be tapped upwards, but this will be impossible if there is a roof in the way. Think about how you would remove the beak before you hammer it in.
Removing Beaks
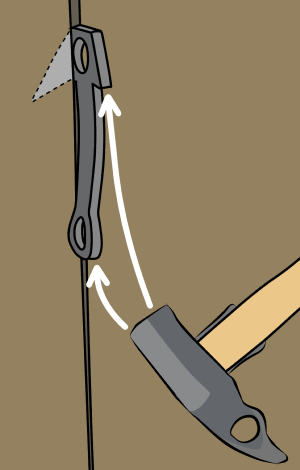
To be removed, beaks will need to reverse the way they went in. This is usually done by tapping them upwards.
Hit them from the bottom (be careful not to hit the cable) or underneath the head. You may need to tap them back down and up a few times to unseat them.
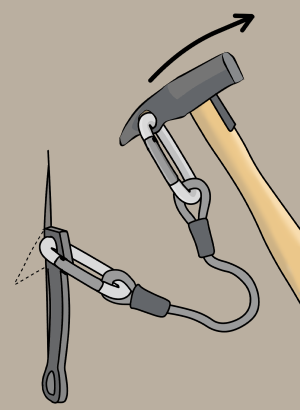
They can also be removed with a funkness device. Clip one end of your funkness device to the beak’s upper hole and the other end to your hammer. Give it a gentle tug upwards. You may need to tap it back into position and then tug it again a few times to loosen it.
You can also clip your funkness to the lower hole on the beak for a more outwards (rather than upwards) pull. You can clip the cable too but it tends to weaken it.
For stubborn beaks, you may have to hit the beak upwards until you can slide something between the stem and the rock. This creates a pivot point.
Hit the stem back into the rock to pivot the beak out.
Racking Beaks
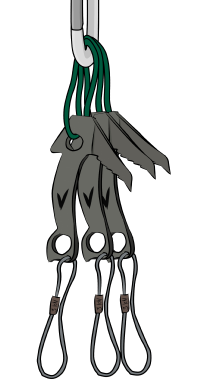
Rack beaks in groups of 3-6 per carabiner.
It’s better to clip the upper holes (if they have them) so the beak tips all point in the same direction – downwards and facing out from your harness. This reduces how much they get stuck on your pants and leg loops.
When storing beaks with the main rack, keep them in a stuff sack (Fish Beef Bags are good) to stop them tangling into everything.
Stacking Beaks
Clip both beaks, either weighting both of them, or just the one which reaches furthest back.
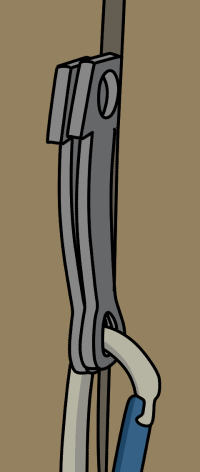
For hard aid routes, it is worth taking some ground-down beaks (sawed-off halfway along the blade) for features like this. Don’t bother sawing your new beaks though – your old ones will snap at this point anyway if you use them enough.
Small spectres are sometimes useful in placements like this too, since they are the same thickness as a few stacked beaks.
